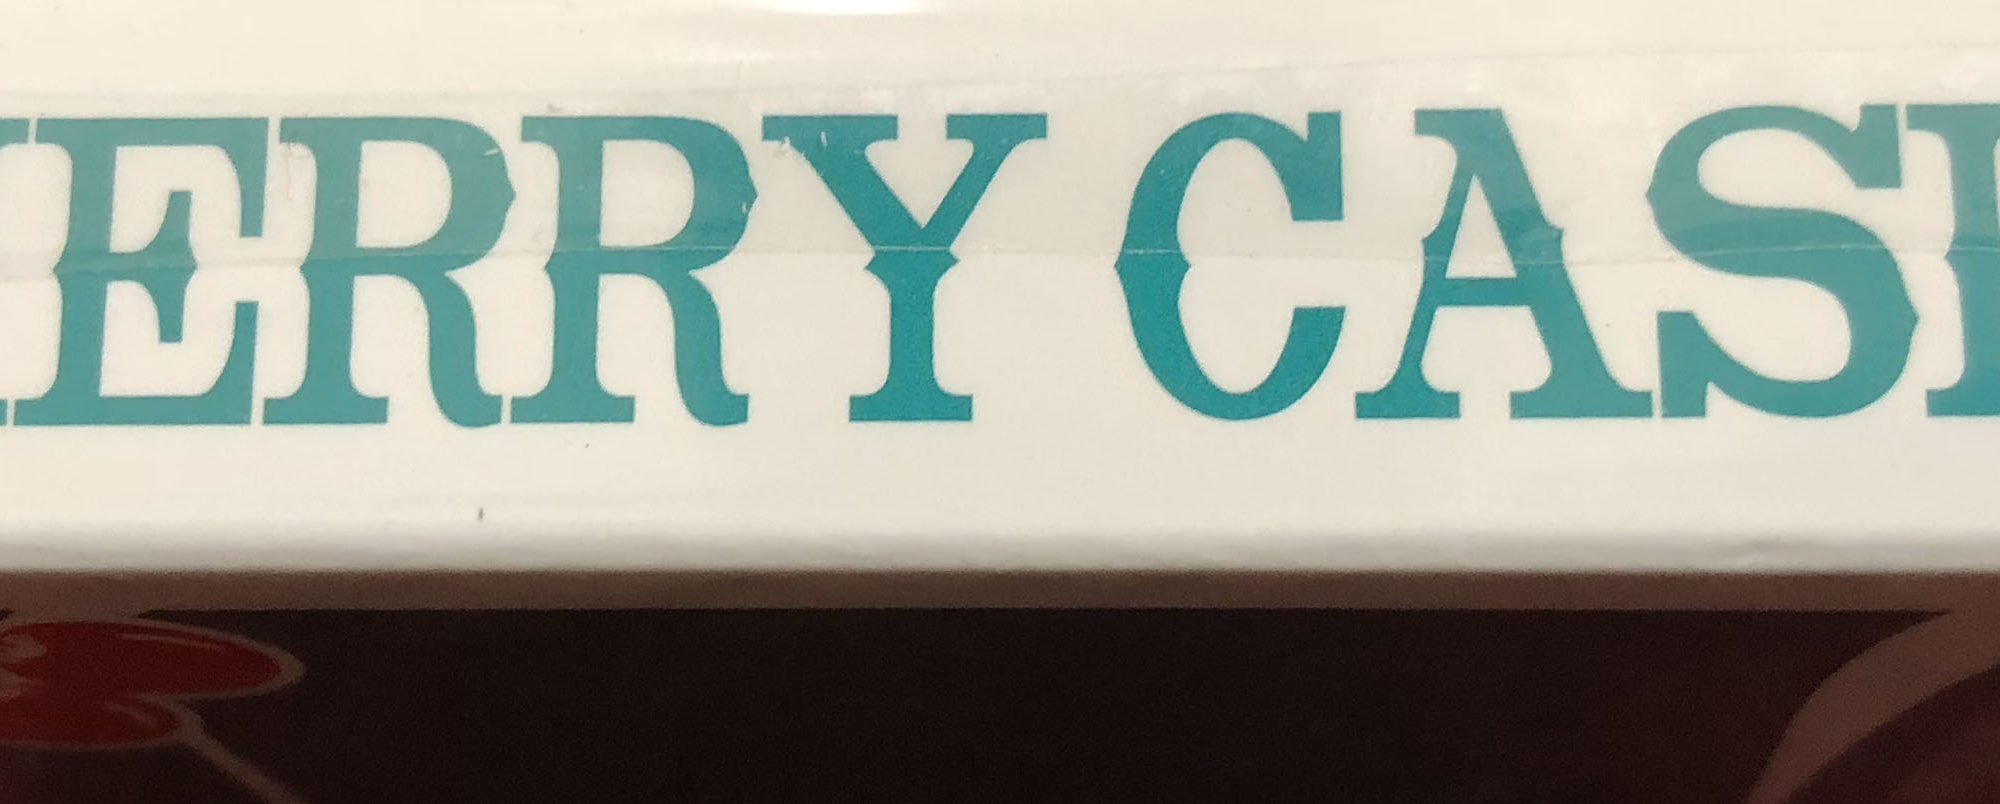
Renos are Red, Tahoes Are Blue

Cherry Casino Cards

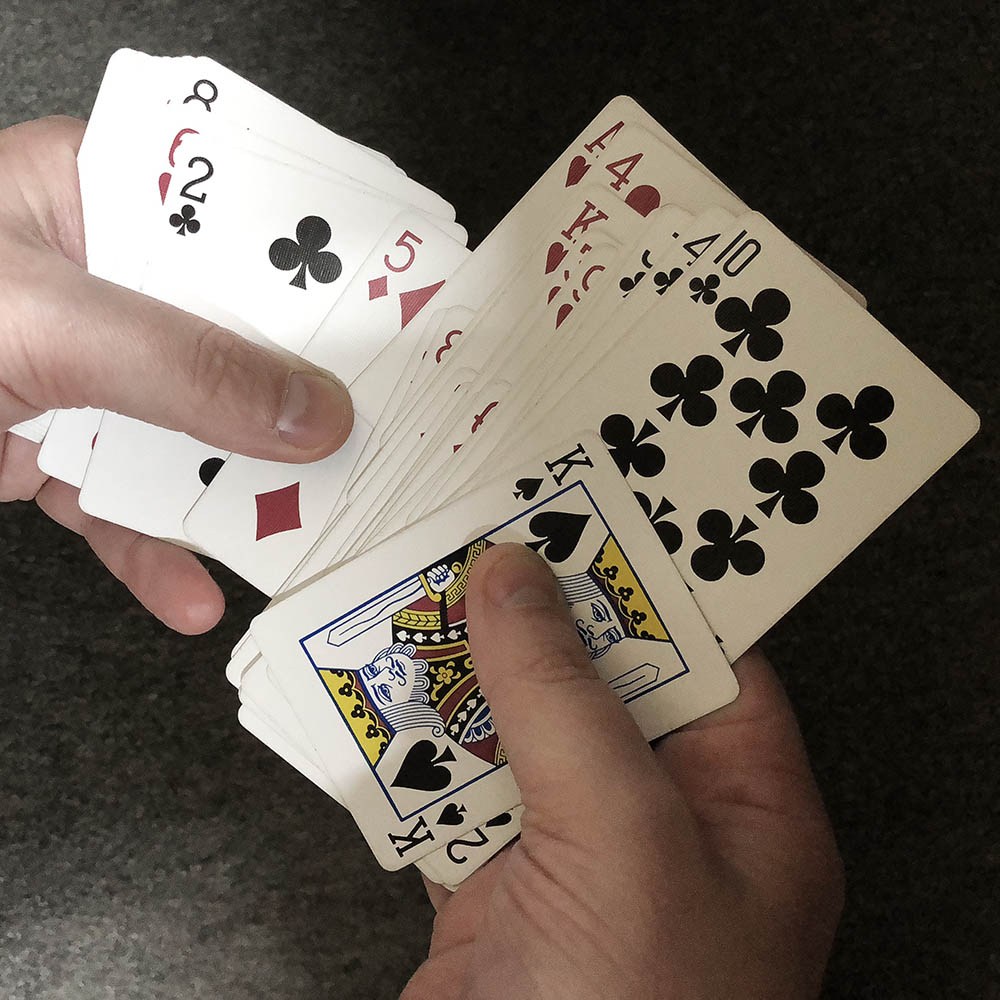
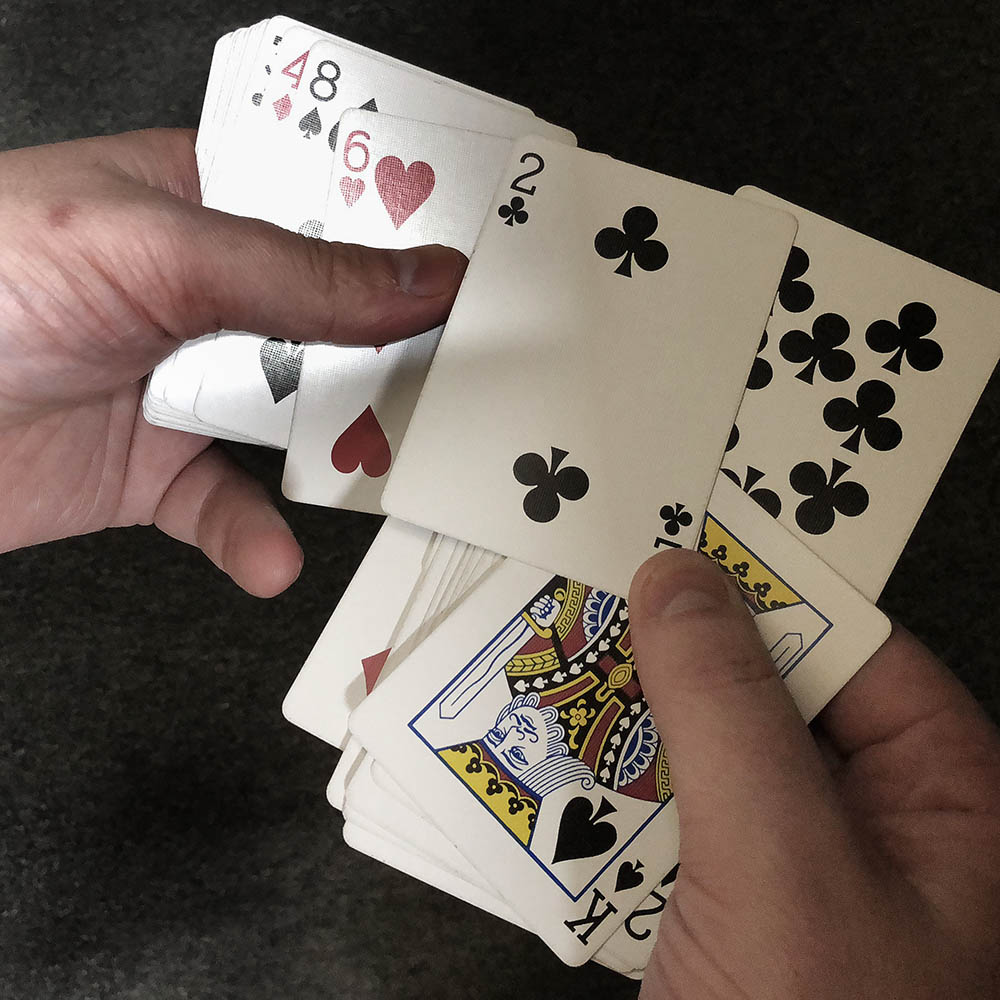
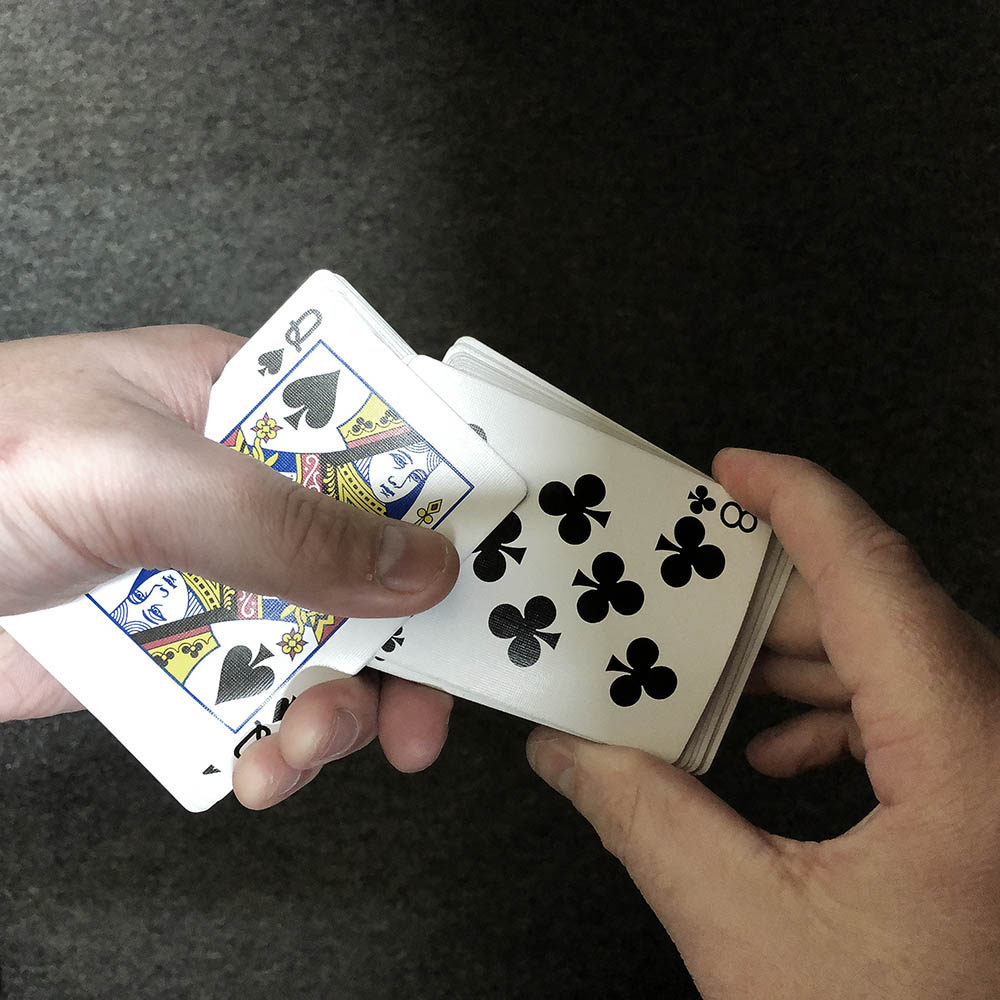
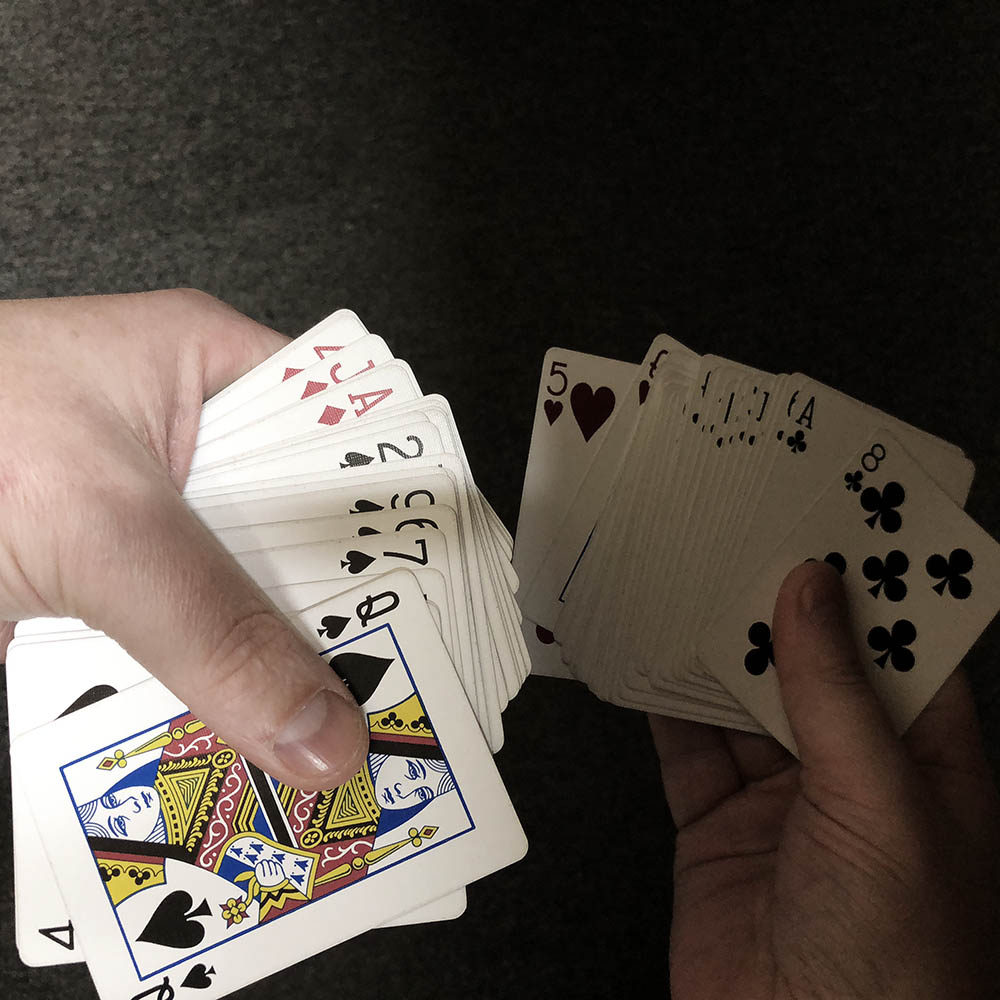
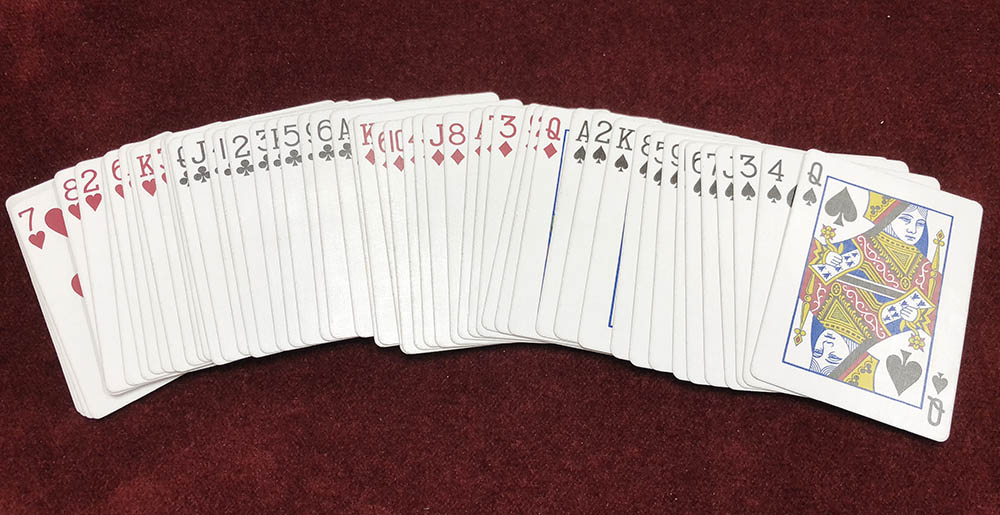
I have been a fan of casino style cards since I started down this crazy path of gambling sleights and magic entertainment. I have a collection of used (trimmed) decks that I brought back from Vegas years ago. At the time, they needed to be divided between my luggage so that the added 3kg (about 30 different full decks!) could be checked. I have since condensed the collection down to the Ace of Spades from each – a much easier way to store them.

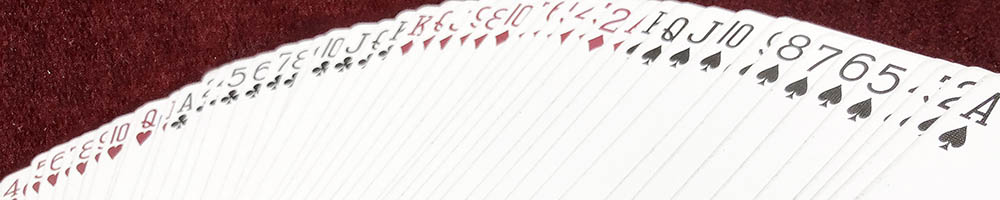
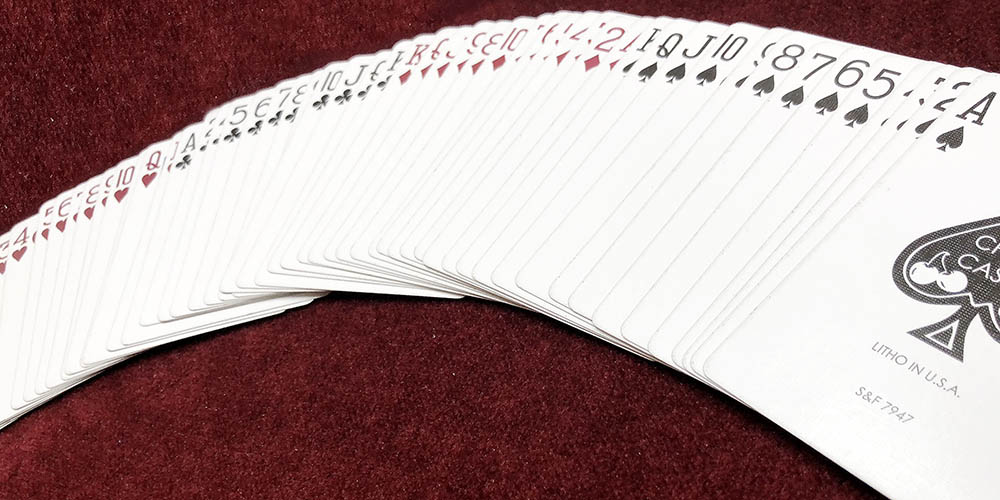
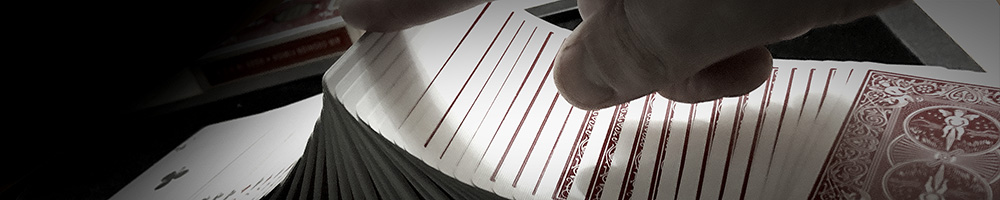
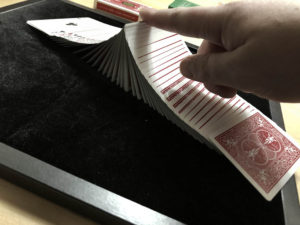
I enjoy casino decks because I’m a fan of gambling sleights and cheating routines. Most of the decks produced in the USA are either USPCC BEE or Aristocrat, making them great to handle, traditionally cut, borderless and high quality.
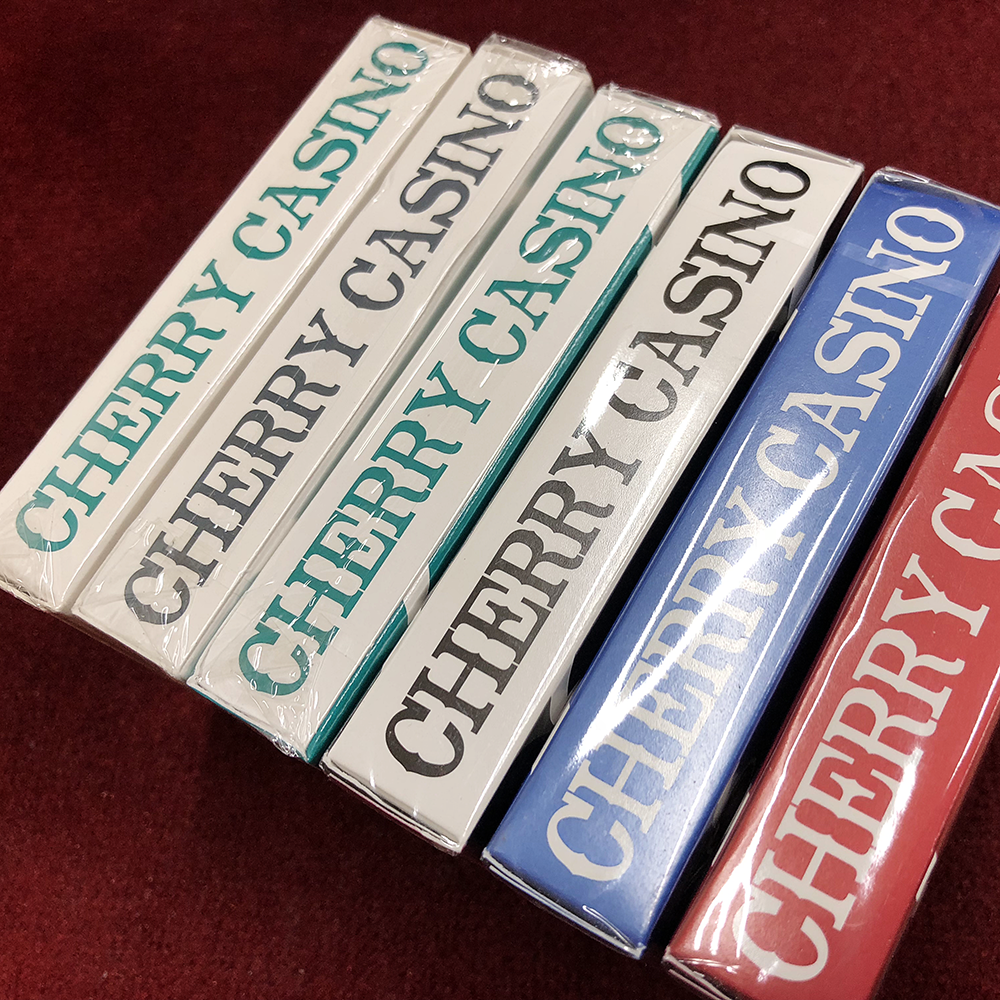
My Random Brick

Earlier this year I wanted to try some of the new casino style “knock off” decks, many of which simulate the almighty Jerry’s Nuggets – a rare and extremely valuable deck today.

Chicken Nuggets were a fun idea, I am not a fan of the plastic finish though. Gemini cards were also a nice tribute, they were better to handle but unfortunately were about to have their thunder stolen.

One deck went the way of simulating a casino that didn’t actually exist. It wasn’t a tribute. Instead, it had all the classic familiar features of old town Vegas, on a brand new original design.

My First Cherry Casino Deck

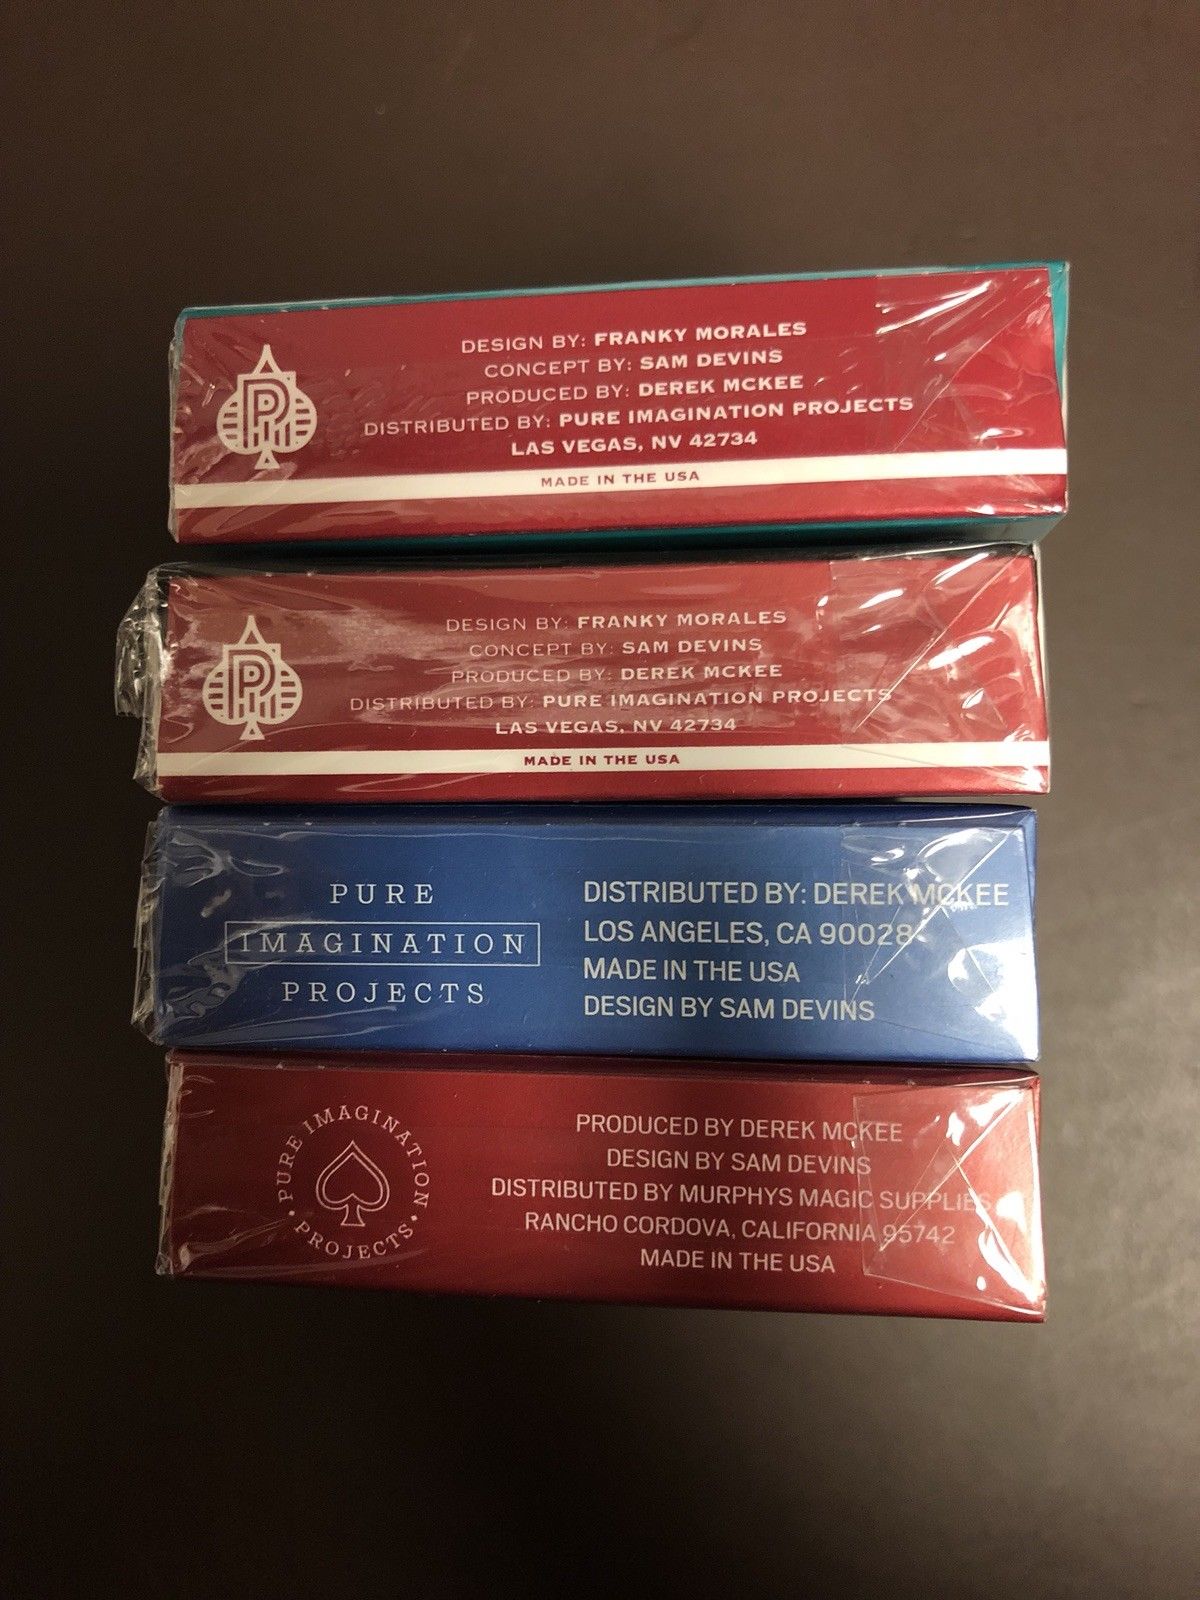
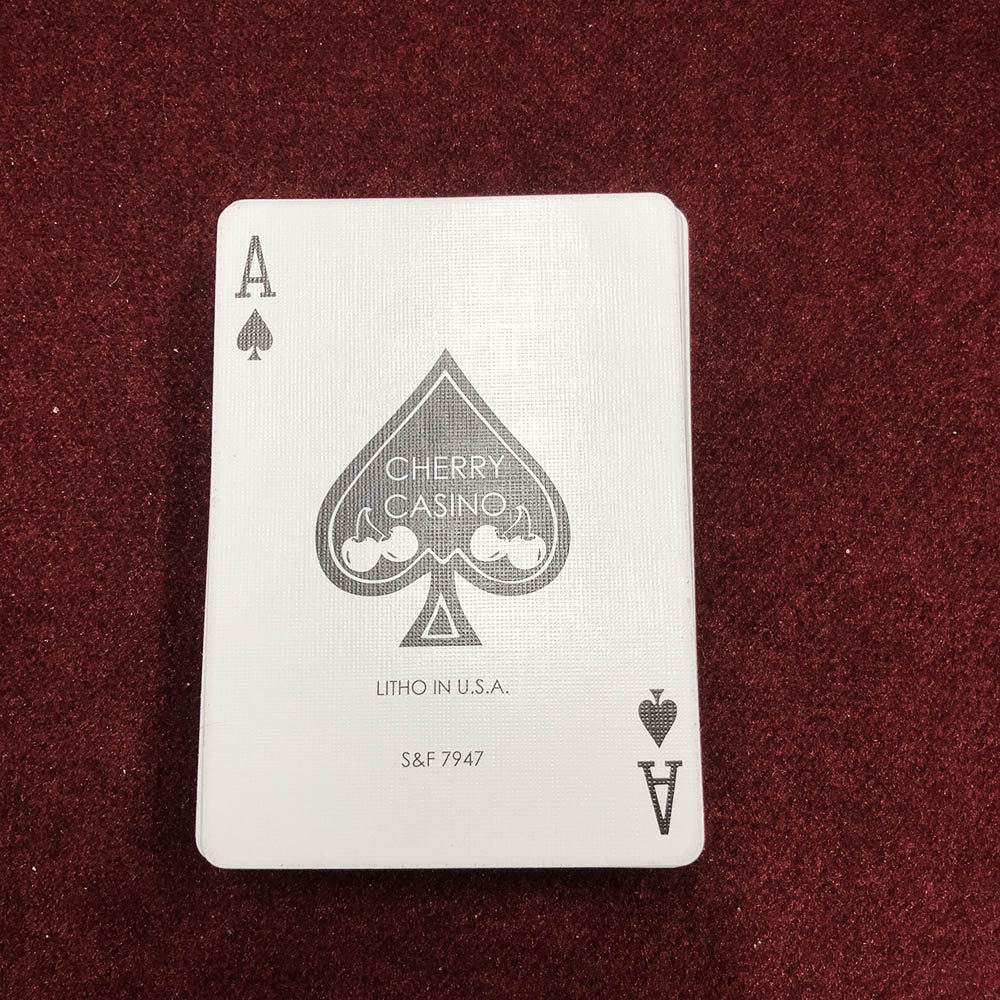
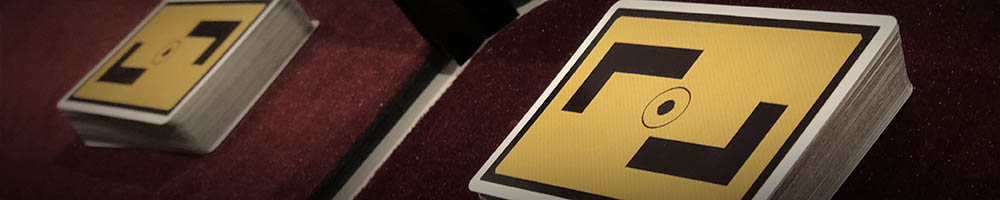
Included in my random brick was a deck of V3 True Black “Black Hawk” Cherry Casino Playing Cards.

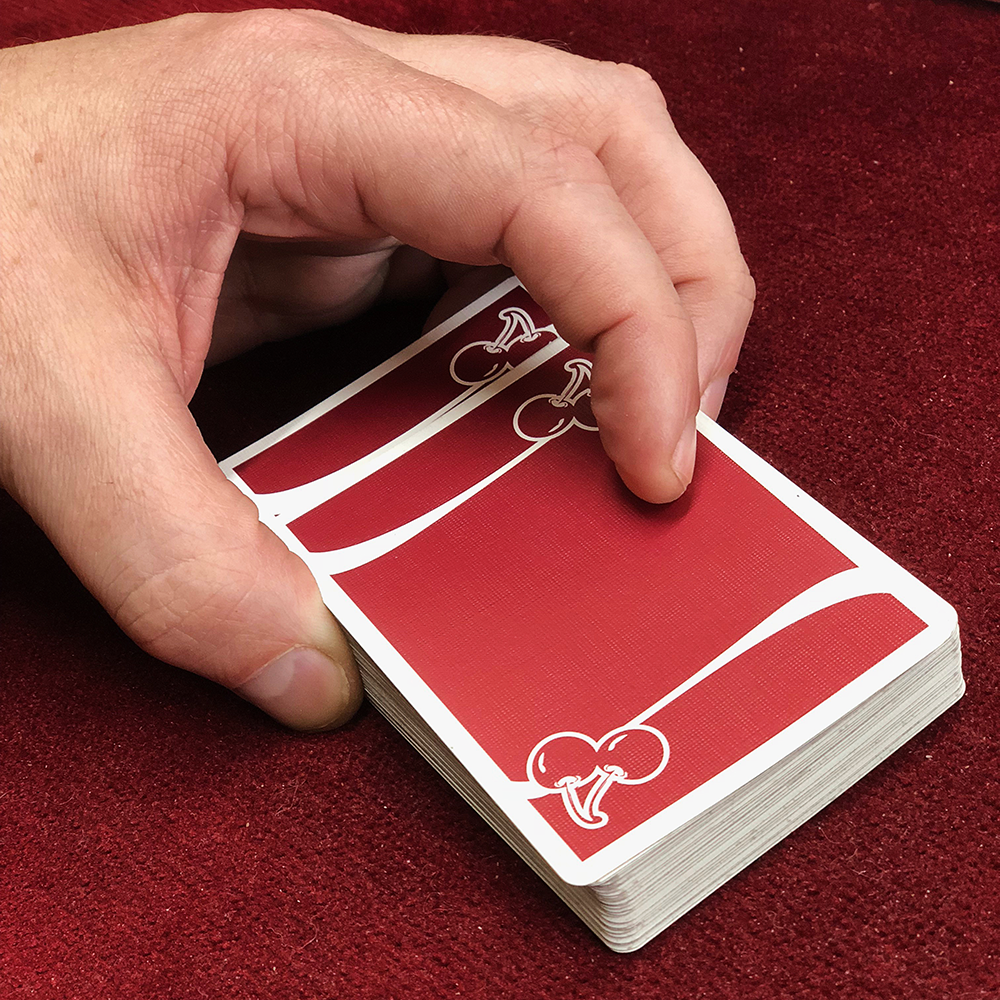
I instantly loved the feel, the minimal design, the casino theme and the traditional cut. I found the Coke style ribbon on each side provided me excellent shade for push through shuffles – providing a faux border to help disguise when the cards are misaligned.

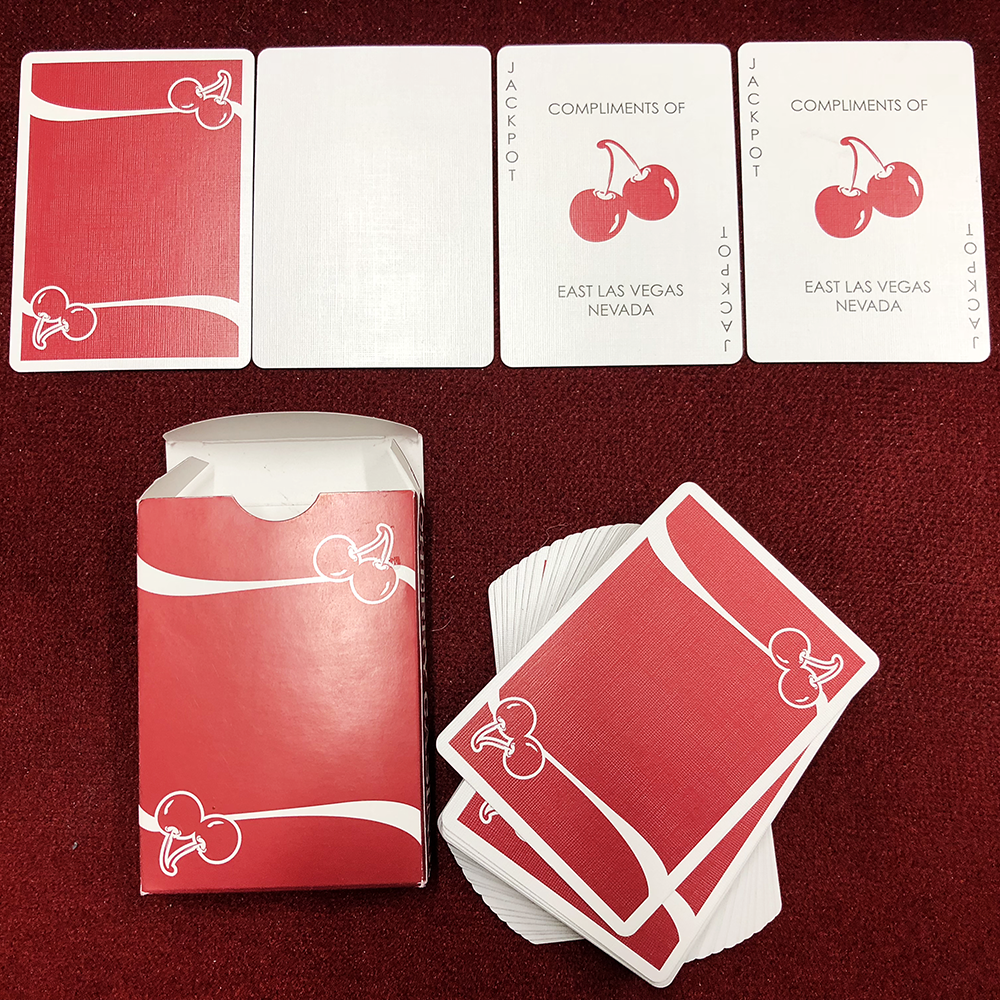
As a cheeky nod to the casino world, the decks include “Jackpot” cards instead of jokers. The perfect simplicity continues with the deck including a double back card and a black face card (great for my White Out and Parabox routines!), wasting nothing.

As I write this today, Cherry Casino True Black (V3 – Black Hawk) is easily my favourite deck of cards to use due to its versatility, its quality and its durability.

And then they were Blue!

Not long after I went slightly nuts over the Black Cherry Casino cards, the pre-release for the “Tahoe Blue” versions were announced.

This was the same awesome deck with an incredible metallic sheen on the new blue back design. Another instant favourite for me.

These sold out fairly quickly but not before I got my hands on a brick for my own use.

Cherries are Red!

I was watching a Magic Live stream when I noticed some of the artists were performing cards tricks using Cherry Casino cards … RED Cherry Casino Cards! They were specially printed as a promotional preview for the event  and the trailer for the anticipated deck soon followed.

Matching the cherry logo makes this deck a mono-colour design on the back. The metallic red looks fantastic and I once again grabbed a brick for my supply.
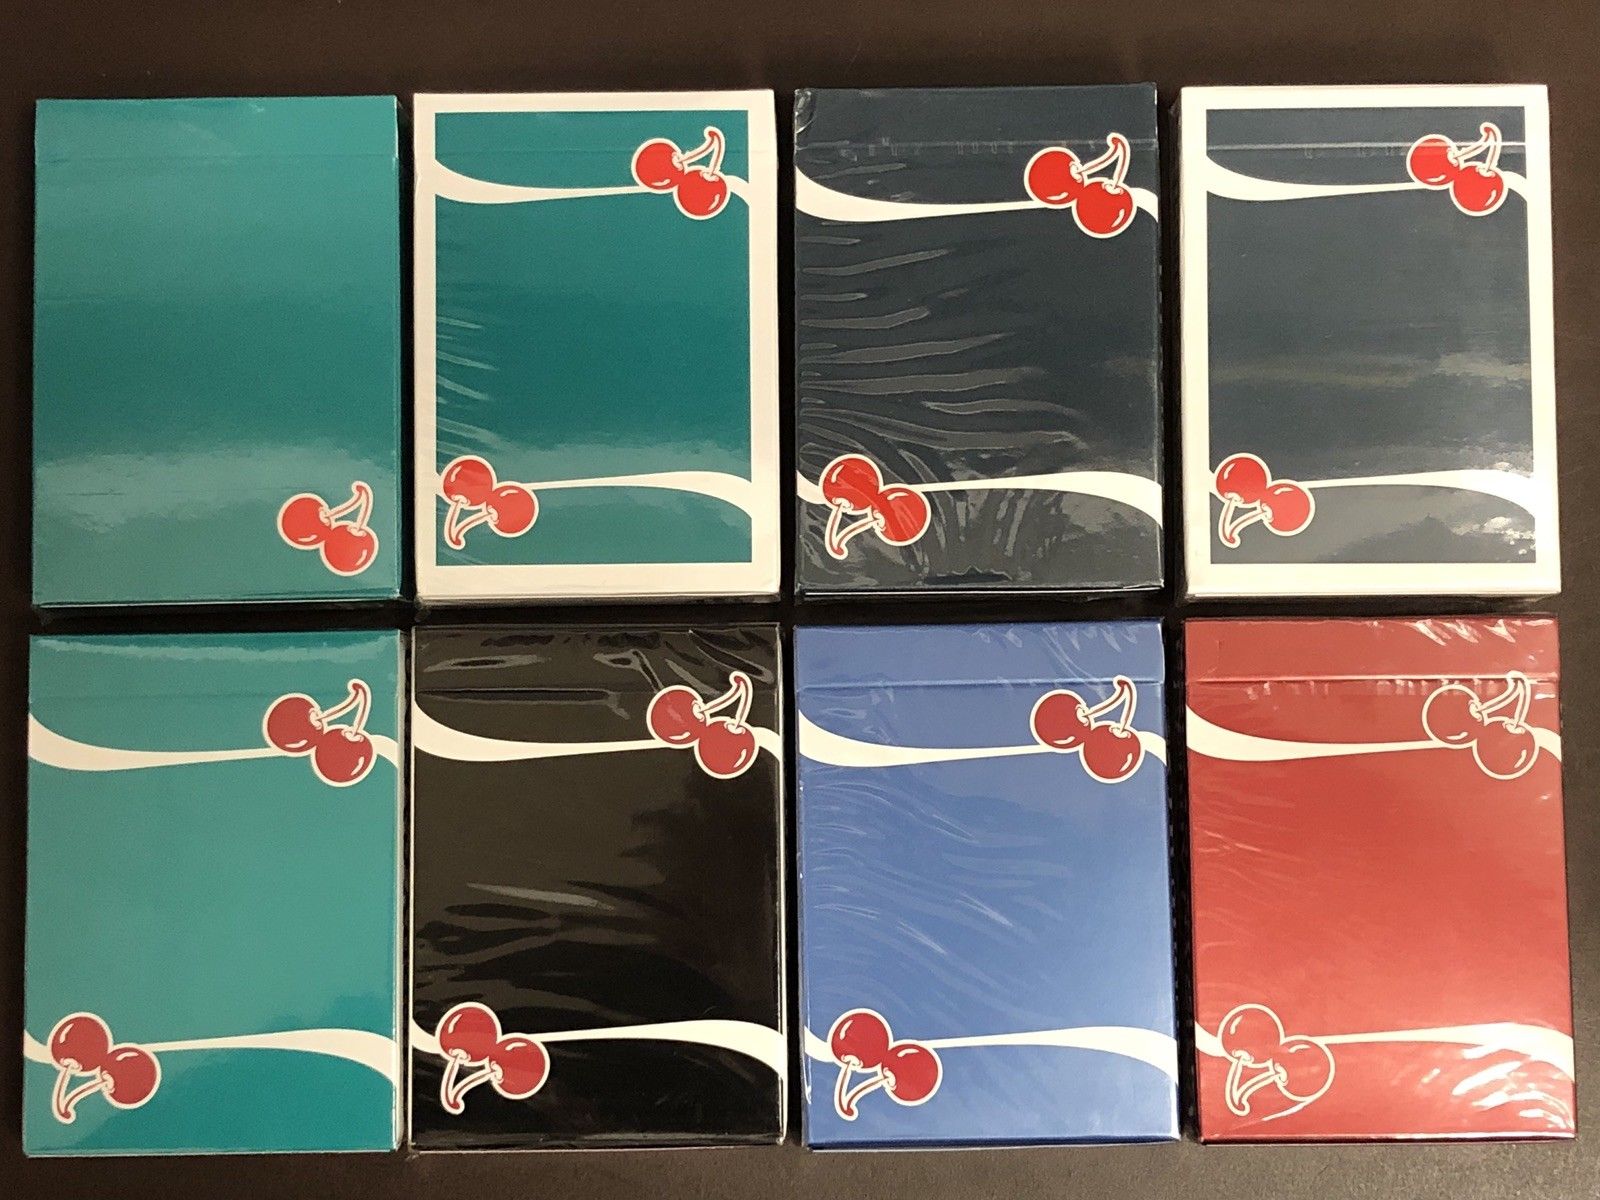
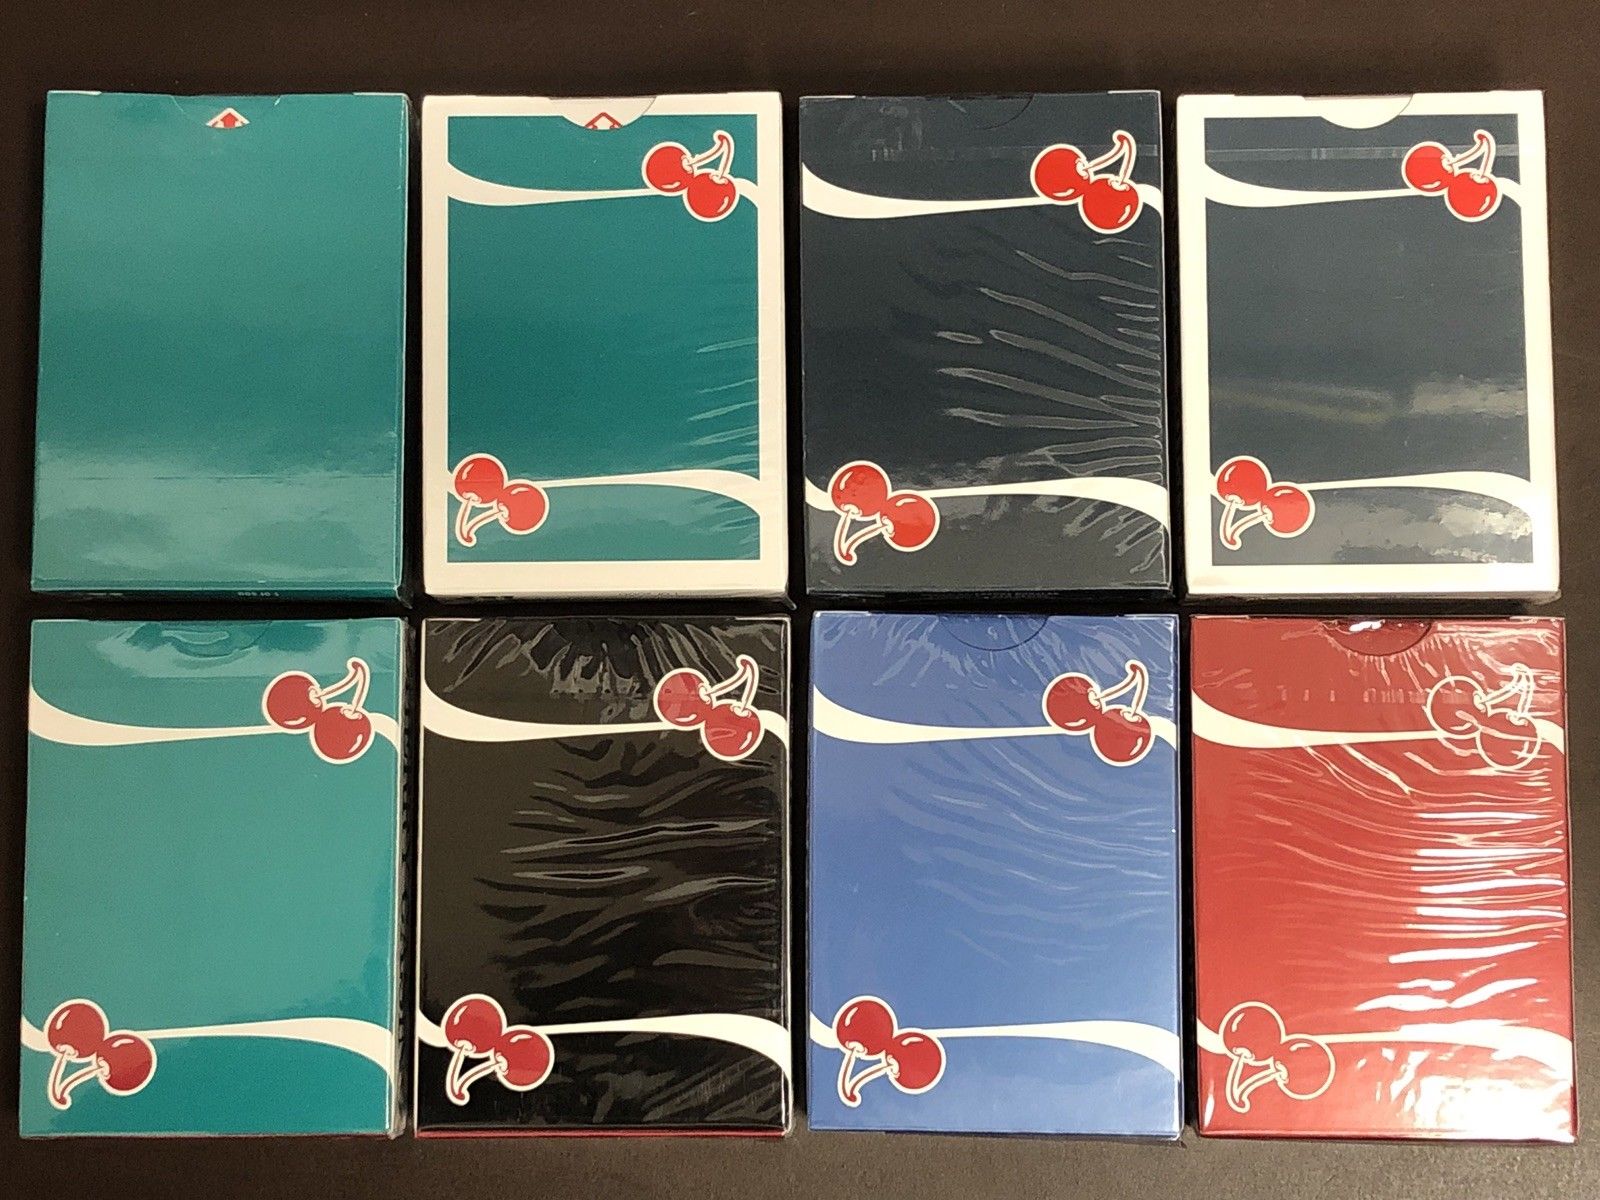
All the Cherries …

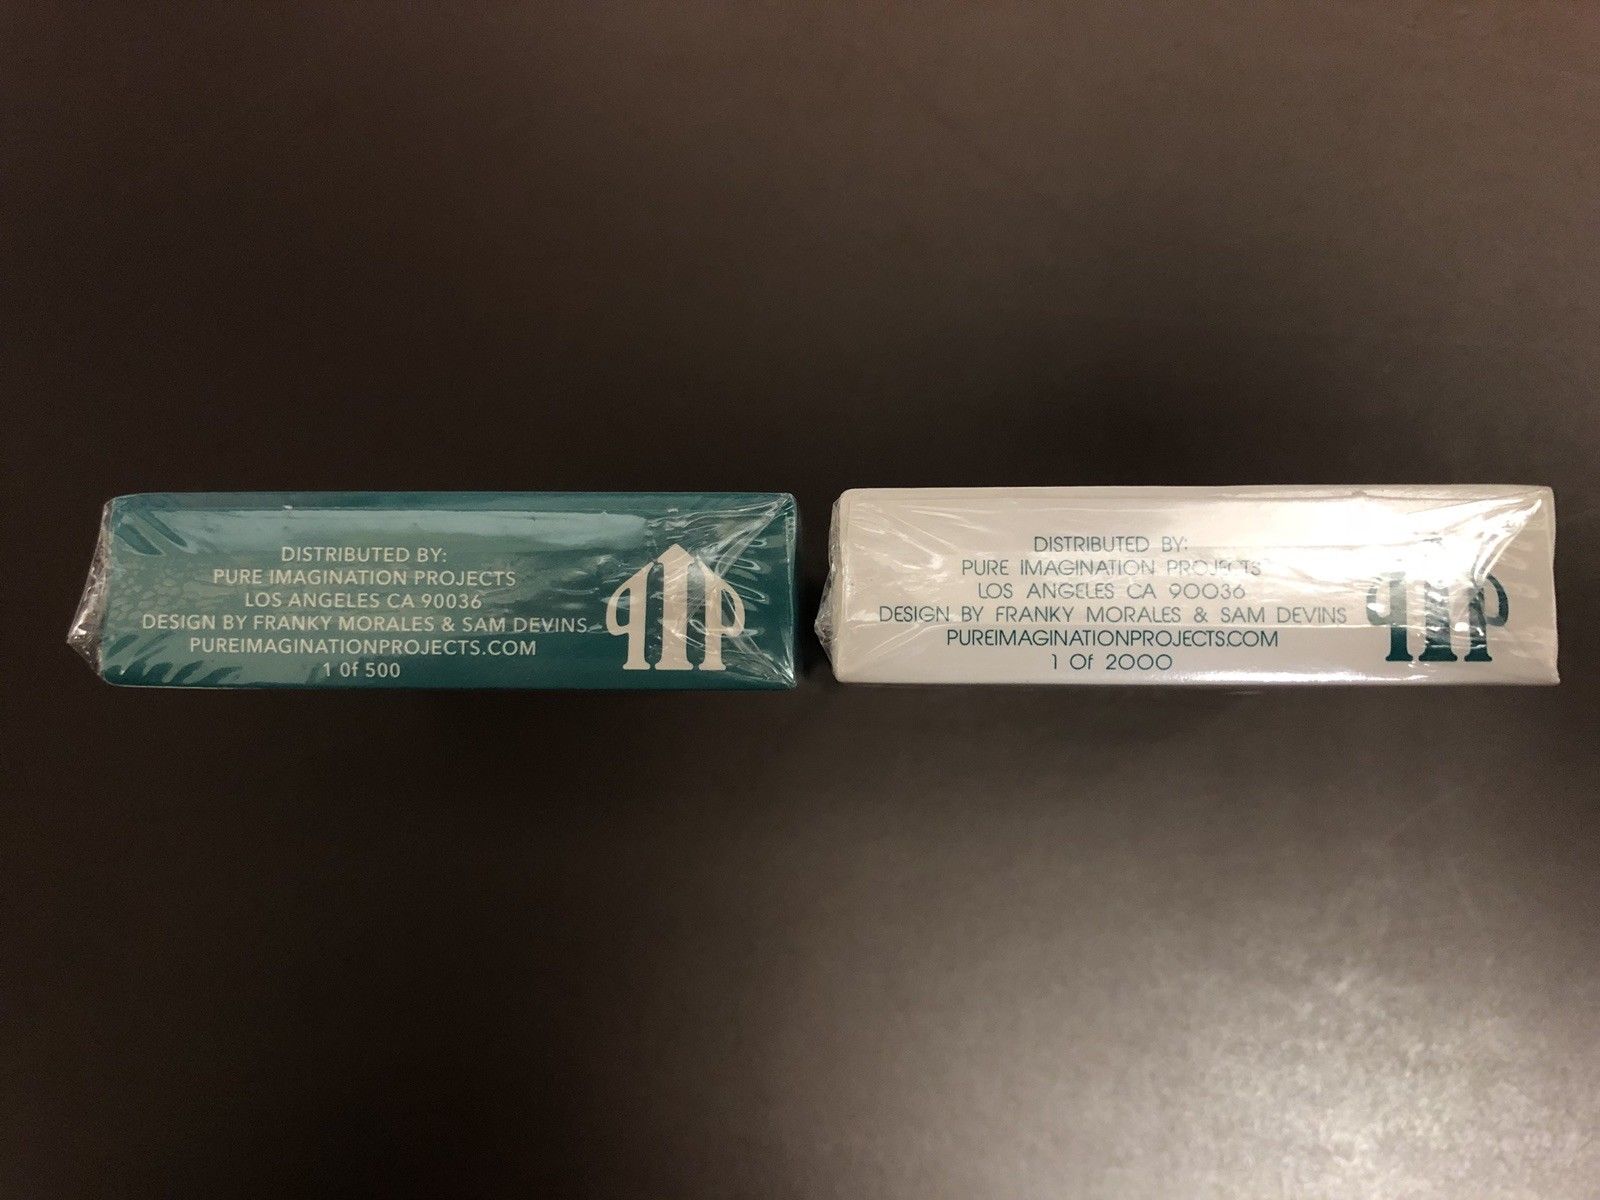
Version 1 (2000 Decks)

Cherry Casino Cards didn’t start with black. They released 2000 decks of an Aqua version back in 2015.

Version 1 “House” Edition (500 Decks)

Along side the version 1 release was a very limited run of what was called the “House” deck. Today, both version 1 decks are rare and very hard to find.

Version 2 (2500 Decks)

Next they released a run of “black” decks which, compared to the V3 “True Black” decks, look more like a shade of grey by comparison.

Version 2 Limited Edition (1000 Decks)

The limited edition of Version 2 Black (1000 decks)

Version 3 Aqua (Sold Out)

Along Side the V3 (True Black), an Aqua Edition, resembling V1, was also printed.

Set for a Limited Time

This makes a total of 8 versions of Cherry Casino playing Cards available of which I currently have 6.

I have all but the House edition of the Cherry Casino decks. Unfortunately the House edition, if you can find a sealed deck, would cost me over AU$300 to buy and import so I won’t be getting that one. Besides, I am no longer a collector.

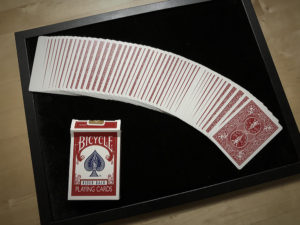
I will no doubt be selling the full set of these rare and sought after cards very soon but before that time I took some quick photos of them all together while I had the opportunity.


Update 7/10/18

A few days after writing my article,  there was a new listing put up on eBay that includes all 8 Cherry decks in brand new and sealed condition. With a total price tag of over AU$800 to import, it will end up way too expensive for me to even consider buying but hey … Christmas is coming! 😉

Here are the photos that were included with that add featuring all 8 versions of the Cherry Casino playing cards decks together:


Sleights, Camera, Reaction

As things get busier out IRL, things do get quieter here on my website. This is not reflective of my card work and magic practice. My days have been filled with learning new tricks, new sleights and, most importantly, working on some great new ideas.

NEW MATERIAL

Over the the last few weeks, I have created and updated multiple new routines to add to my live set and to potentially sell. Whenever I get a wave of creative inspiration like this, I know not to waste it.

I have created so much in the last few months, it has been hard to find the time to note it all down. Some of my new tricks include a fun new torn card reveal, an ACAAN effect and an impossible card penetration illusion called “Beeline” that (even though I know how it works) still sometimes fools me!

I am cautious not to go into too much detail before releasing my creations so I can protect and properly copyright the ideas. For now, the goal is simply to test and fine tune everything as much as possible.

REFINING, REHEARSING, RECORDING

The time has come to produce demos and instructional videos for the stronger of my multiple new tricks.

This is always great fun, but very time consuming. I have tested my new 4k equipment regularly filming songs with my band Walker St and I now have a powerful new laptop capable of editing the UHD footage to professional standards.

My new illusion trick “Beeline” will be produced and released first as it is a routine that requires very little spectator interaction to demonstrate. The other routines are much more interactive so I will need to wrangle friends and family to be involved to film them effectively.

SO HERE’S THE PLAN

The time has come for me to structure a solid 30-45 minute routine that I can perform regularly and reliably to build up the match practice I need to move forward in this craft.

In the coming months, I plan to visit as many people as I can (as many as will have me!) to practice my brand new (and first ever!) live card magic / gambling demonstration show. I look forward to finally demonstrating what I have been working on and hearing everyone’s feedback.

During the performances I will take the opportunity to video some demos of my original work and catch people’s reactions. The videos will have much more effect when filmed in front of spectators and will better demonstrate the routines to those who may wish to purchase and perform the tricks themselves.

So … who’s in?

HERE’S ONE I PREPARED EARLIER

Meanwhile, as you wait for my new videos you can check out all of my previous video releases on Penguin Magic.


Sorting a Deck of Cards

New Decks

There isn’t any rule that specifies the sorting of cards when packaged by card companies. A single series of card decks will remain sorted the same way within a single release, but each new brand or version of a deck may alter its order without limitation.

It is up to the card designers as to what that order is for each new deck they release. These days some decks even come ordered in magic memorised “stacks” to enable miracles to occur right out of a brand new box.

Standard USPCC Bicycle Decks come arranged in the suits Spades, Diamonds, Clubs and Hearts. The Spades and the Hearts are ordered Ace to King – Ace, 2, 3, 4, 5, 6, 7, 8, 9, 10, Jack, Queen, King. Then the Clubs and Hearts are the reverse – King, Queen, Jack, 10, 9, 8, 7, 6, 5, 4, 3, 2, Ace.

Skip to where I teach my method of sorting cards ↓

Kissing Kings

Arranging the Cards in the A-K then K-A order places two kings in the centre of the deck in positions 26 & 27. These are commonly known as “Kissing Kings”. If fact, when you split the whole deck arrangement in the middle (between the kings) you get a mirror of each card on the opposite side. The Ace of Spades is opposite the Ace of Hearts and so forth.

Shuffling the Deck

If you perfectly shuffle a deck of cards (splitting the deck into equal 26 card  halves and accurately interlacing every single card one after the other) 8 times in a row, the deck will return to its original order. If you imperfectly (randomly) shuffle a deck of cards, they can be arranged in one of more combinations than there are atoms on earth.

That’s 80,000,000,000,000,000,000,000,000,000,000,000,000,000,000,000,000,000,000,000,000,000,000 (67 zeros) ways to arrange a deck of 52 cards!! So any time you pick up a well shuffled deck, you are almost certainly holding an arrangement of cards that has never before existed and might not exist again.

Back into order

It is documented that the fastest way to return a deck into order is to deal out the cards into four piles (one pile for each suit) and then arrange each pile before reassembling the deck. The internet is littered with record claims and videos of people demonstrating their fastest deck resorting efforts. You will no doubt find them amongst those solving Rubik’s cubes and stacking cups.

Skip to where I teach my method of sorting cards ↓

The Game

So cursed I am with continually sorting decks back into order (most likely for false shuffling) I have been crafting methods to make the process more interesting for years!

Below is one of my first attempts at making the card sorting process more entertaining. It is a video I created that turns sorting a deck of cards into a game. The idea is to use the method defined by the name “SOLVE” (flipped 37JDS) and try to complete it in the fastest time possible without dropping cards.

Skip to where I teach my method of sorting cards ↓


My Sorting Method

The main purpose of this article is to teach you my way to quickly sort a deck of cards without needing a table.

Quickly, Whenever, Wherever

The main movement for my way of sorting the cards is spreading them from one hand to the other while arranging them into simple, easy to manage categories. Reordering cards in your hands is much more versatile for anywhere you might need to prepare or perform.

This method will not only get you quicker at sorting your decks, it will strengthen your hands for other sleights as well.

– Step 1: The Colour & Suit Positions

Start by cutting to the Ace of Spaces (face up). This isn’t vital, but just makes things better no matter how the cards are shuffled.

In this first step you are going to align them according to their colour and suit as they move across.

Black cards are pulled to the front and their positions are:

  • Front/Top – Clubs
  • Front/Bottom – Spades

Red cards are pull behind and their positions are:

  • Back/Top – Hearts
  • Back/Bottom – Diamonds

– Step 2: Separate the halves.

Once you have sorted the cards into their colour and suit positions, align them so that both the sides are neat but the bottom half and top half remain separate.

By rotating the top half you can strip out that half of the deck and separate it from the bottom half. The half you stripped out contains the clubs and the hearts. They are grouped together but not yet in order.

Place the half  that was stripped out from the top of the deck, behind the other half and straighten everything up.

– Step 3: Ordering the Suits

One by one spread through the cards again but this time paying attention to the values.

The first two suits should have the Ace to the right and count up to the King to the Left. Then the last two suits start with the King to the right and count down to the Ace on the Left. Once a suit is ordered, move it to the back of the deck.

There is no trick this. I simply look at each card one at a time and determine if it is in order. If not, I move it into position.

For example I’m holding a 3, I’m sliding across an 8, is that in order? Yes – it can slide into place. Even though there are cards missing still, one is greater than the other in the correct order.

Alternatively if I’m holding a Jack and I spread across a 9, I will have to shift the 9 into its correct position. At this stage it may be between a Jack and a 6, so long as it is in order, the other cards will be along shortly.

In my experience it is easier to concentrate on just moving one card at a time rather than shifting blocks of cards around as this can be harder to keep track of. Although this process seems quite manual, the one by one sorting actually becomes a lot faster once you get into a rhythm.

Grab your cards … get set … go!

From Sorting to Practice

Another method I use to sort a deck of cards is slower but more focused on practising some sleight of hand. There is an advanced card move known as a spread cull that is a very effective way to secretly locate and control cards. Sometimes instead of using my standard method above, I will use a spread cull to collect and move each card into a simple “Ace to King” order.

If you are familiar with the Spread Cull move and would like to try what I do, here is the order I run with to get my preferred Spades, Hearts, Clubs, Diamonds, Ace to King order:

  • Spread cull all of the 2s to the top.
  • Go back to the start and cull the 3s
  • Continue this with the 4s right up until you have culled the Kings (The Aces will be all that remains and will be in order by default)
  • Next spread cull all of the Hearts to the top.
  • Go back to the start and cull the Clubs
  • Lastly, cull the diamonds.(The Spades will be all that remains and will be in order by default)

After completing the above steps, the deck will be in order and you will have practised spread culling 15 times!

Perfect Practice Makes Perfect

Perfect Practice Makes Perfect” is a quote from Richard Turner, one of the best card mechanics in the world. By altering the well known quote from just “Practice” to “Perfect Practice”, he is referring to working on moves and sleights but ensuring that work is focussing on correct techniques and methods. In short, practising how to do something imperfectly will not “make perfect”.

“The only shortcuts are at the butcher shop”

This quote comes from another master of his craft. Tommy Emmanuel, well known as one of the worlds best acoustic guitarists, insists that there is no other way to become great at what you do. Excellence requires constant hard work and dedication in your pursuits.


Not Bad, Not Ready

I have been practicing cards for well over 5 years now. I’ve explored magic, gambling, cheating and even created some of my own effects. I have accumulated a large amount of resources and knowledge about all areas of the subject and have met and consulted with some of the best magicians and card men in the world.

Am I good at this? Yes.
Am I good enough? Not yet.

The method behind magic tricks and gambling demonstrations often requires only minutes to learn. But to be able to perform the sleights effectively and consistently while maintaining the showmanship required for an entertaining performance takes months at minimum. Maybe years.

I once read an article where a magician compared this process to learning a musical instrument. This comparison resonated with me. If you have just started and learned to fumble through one or two basic songs on something new, would you go out and straight away perform to an audience? Even if you can navigate your way pretty confidently and only struggle at one or two parts, are you performance ready? No.

You shouldn’t just practise so you don’t make mistakes – practise so you CAN’T make them.

No retreat, No surrender

I have watched many performances where card masters who have been practicing their whole lives still drop that last Ace in a shuffle, or miss the crimp in a cut. I have personally been in situations where I have practiced cards solidly for months but when asked “Can you show me a trick?“, I just can’t.

This path is filled with multiple challenges. There is of course the physicality required to handle a deck of cards with confidence, but there are mental and social challenges as well. I still wouldn’t feel comfortable asking a stranger to “Pick a card” and I am assuming that no matter when I finally perform, I will never feel fully prepared.

Luckily for me practising cards is like meditation. My breathing and heart rate instantly slow down and my stress levels fade with every cut, spread, fan and shuffle. I thoroughly enjoy this process of learning and that helps me recover from those setbacks I encounter along the way.

The only true way to fail at something is to give up!

Match Practice

Unfortunately, there is only so far you can get having only a mirror or video camera as your audience. There is nothing wrong with practising alone, and I encourage doing this with every trick to ensure the moves become second nature. It is bad etiquette to perform routines that are underprepared as it risks revealing their secrets. It is always best to work on every part of every move, learn the script, become aware of all angles and make it a performance – not just a trick.

Ironically, the work behind magic and cards is designed NOT to be seen in front of spectators. It requires interactivity and a strong command of misdirection. This can only be achieved through working with an unpredictable and often critical audience.

At this stage, I have only dipped my toe into the magic performance world by publishing some of my work on YouTube. I am currently working on and refining a live set that will hopefully see me performing live by 2019.

Anywhere, Anytime

Unlike music, cards have the advantage of being easy to carry and versatile to practise. I always carry a deck with me and work on moves sitting, standing or even walking. I have portable card mats for table work in cafes, restaurants or aeroplanes.

Unlike music, card practice is not disruptive to those around you. If you have any hesitations, just see it as an alternative to poking a smart phone like everyone else is no doubt doing.


My Regular Routine

DAILY PRACTICE:

  • Bottom Dealing (with & without sailing)
  • Strike & Push Off Seconds (with & without sailing)
  • Blind Shuffles, False Cuts & Stock Controls
  • Spread Culling
  • New Routines

WEEKLY PRACTICE

  • Shifts, Passes & Colour Changes
  • Riffle & Overhand Shuffle Stacking
  • Deal Sailing (Speed & Accuracy)
  • Turnover & One Handed Seconds
  • Old Routines

OTHER PRACTICE

  • Card Switches & Mucking
  • Crimped, Stripped & Marked Cards
  • Greek & Centre Dealing
  • Flourishes
  • Creating Routines


EUFM: Biscuits (Cookies)

Everyday Uses For Magic

Sleight of hand is something that requires a lot of time and practice working on moves that are only really ever used in performance. On this blog I plan to do a series called “EUFM” (Everyday Uses for Magic) that will put those hard earned skills to use in day-to-day settings.

The dexterity and shade awareness achieved while working on magic tricks can not only be practiced everywhere, but can be used to get a slight edge in many other non-magical circumstances.

No Biscuit Tricks

Here in Australia, biscuits are what others might call “cookies”. Regardless of there name, its important to note that I am not referring to their use in magic tricks. Although if I were …

This article is aimed at highlighting where knowledge of magic and sleight of hand can give you a huge advantage at home, in the office, or any other biscuit sharing situation.


The “Fair Share” palm

The idea behind this sleight is to clearly present to family members or coworkers (or anyone else you might be sharing a plate of communal biscuits with) that you are only taking a single biscuit in assurance that everyone gets their fair share. This is demonstrated in picture 1.

As you can see in picture 2, using your awareness of palming and angles, you can quite easily hold out 2 or 3 more unfair biscuits to enjoy later. I recommend ditching the extra load into a pocket or biscuit sized topit of some kind  to lower your chances of flashing what you’re holding out and being outed as a greedy cheat.


The Bad Bikky Force

A common tool used in tricks is called “Magicians Choice”. This is also known as “equivoque”. This specially crafted method of social engineering can also be used to ensure you get the best of 2 available choices. For this example we will use the following 2 biscuits.

Let’s assume you are really in the mood for a cream filled double layer biscuit (pictured left) and have to get someone else to “choose” the other, non-creamy, single layer biscuit (pictured right). You simply ask them the following question:

“I want to eat one of these biscuits, which would you prefer?”.

Outcome 1: They respond “The creamy one”:
In this instance, you immediately pick up the creamy one, clarifying that the creamy one is the one they preferred you to eat.

Outcome 2: They respond “The non-creamy one”:
In this instance, you immediately pick up the creamy one, clarifying that they just said they preferred to eat the non-creamy biscuit.

The quicker you take a bite of your preferred biscuit, the less chance your loaded question will be challenged.


The One-Handed Multi-Hold

With all the props and flourishes used in tricks these days, magicians tend to get quite strong and flexible hands. This versatility and dexterity has previously only been used to shift card packets or sleeve coins. Using these same skills on your coffee break brings a whole new angle to the simple acts of lifting and holding.

One simple example is pictured below:

With one hand I am able to hold my biscuit (the creamy one I conned someone out of earlier), my coffee cup and a handy saucer to catch drips and crumbs. I invite all those practicing sleight of hand to hold items in non-standard ways like this – being careful of hot liquids or sharp edges.

This way of holding my cuppa and bikkie may seem a little over the top to some, but with my other hand now free, I am able to lift more delicious items. Theoretically, at any given time, I could have my coffee, saucer and current biscuit in my right hand, while palming multiple future biscuits (or other communal foods of choice) in my left.


In conclusion

The goal with this experiment is to utilise sleight of hand in common, non-magical and non-harmful ways. To make use of the unused skills earned by magicians and card sharps. Being creative with every part of your day can only help make you a stronger performer!

If only there were some real magic around that could make the extra weight gained from eating all the additional biscuits disappear!


Magic Card Surface for Under $20

My DIY Ideas

A habit I have when entering any creative area is “how would I do it?” Often before learning the method to a trick, I try to achieve the outcome by composing my own method.

The results of my experiments will be categorised on this website under “Creations“. The ideas will range from moves, tricks, decks and accessories.

Magic / Card Surfaces

I practice cards every day in all environments. It’s easy to have a deck in your pocket and practice your standing or in-the-hands sleights whenever there is a quiet moment.

A lot of the moves I work on are based at the card table. This requires a felt mat to enable access underneath cards and packets when lifting them. Neoprene & Rubber roll up mats are most common and are available at many magic stores. These are great for your desk or table but I enjoy practising in other locations – like while travelling or even on the couch.

I experimented with stable table devices, portable fold-out card tables, stools and chairs – all of them were fine but very inconvenient to both store and set up. I eventually spent some money and bought some card surfaces from Dan & Dave’s website. These were both expensive to purchase and expensive to ship but, as with all of Dan & Dave’s products, the quality is outstanding. I now own the Aluminium Close Up Pad (perfect for travelling) and a Green Magic Surface.

Create Your Own Surface

I have since created a way for those entering into card or magic work to create a surface that will suit their needs and their budget, until they can buy the real deal.

It may even eliminate the need for a more expensive option!


You will need the following 5 items:

1: An 11 x 14″ (28 x 36cm) frame with an 8 x 10″ Mount.

The sizes can vary slightly so long as:

  • It has a strong backing that isn’t just cardboard
  • The back is clipped in place from the frame (and doesn’t slide in)
  • There is an included frame “mount” made of firm card
  • The felt you use is larger in size


2: A 16x 11″ (42 x 30cm) A3 Size thin Card Felt 

This is readily available from eBay and many online stores and the thin ones required cost well under $10. Search for “Magic Close Up Trick Mat“.  Be mindful that these are imported and may take a while to ship but I have found the quality of even the cheaper options to be more than fine for practise.

3: Flat Cardboard (greater than A3 Size)
4: Strong Scissors
5: Large Roll of GAFFA (Cloth) Tape


STEP 1: Cut the Cardboard

Draw around the frame on the flat piece of card board and cut it out to that size. This will initially be too large but will enable more precise trimming later.


STEP 2: Prepare the Back

Remove any stands, clips or mounts directly attached to the rear board of the frame. This part needs to be flat so the surface is sturdy. Carefully remove the glass front and dispose of it. Tape it securely to ensure it won’t crack and become dangerous.


STEP 3: Trim the Cardboard

With the back board removed, lay the cardboard piece from step one over the back of the frame and trim to a size that fits inside.


STEP 4: Attach the Felt

Lay the felt face down on the table and place the cardboard on top. Ensure it is evenly centred.

Pull the felt over from one of the short edges and tape in 3 locations (top middle and bottom). Do the same with the opposite short edge and ensure the felt is stretched flat.

Without placing tape in a visible place on the front of the felt, apply some long strips to the top and bottom long edges – securing them in place. These are not the main supports for the felt so don’t require too much.


STEP 5: Add the Mount


Place the 8″ x 10″ Mount firmly over the top of the taped area and tape the centre edges to the cardboard – ensuring everything is as flat as possible.


STEP 6: Insert into the Frame

Push the Felt, Cardboard and Mount (now stuck together) into the frame. The glass should have been removed in Step 2 so the felt should push through the front.

Ensure the clips that hold the back of the frame in place are all sticking out and aren’t bending under the structure as you insert it.


STEP 7: Clip on the Frame’s Back Board

Pushing everything down as far as possible, clip on the backboard in the same way the frame had originally. There is more mass to fit in so it will be more difficult to lock in than before.

Tape over the clips to ensure they don’t scratch when placed face down. This will also help to hold everything in place.


STEP 8: Tape up the Back


This step is optional, but seeing as I used a black frame with black felt, I opted to completely tape up the wood style back with Black GAFFA (cloth) tape. This makes it sturdier to hold and creates an over-all better look


STEP 9: Adjust as needed.


At this stage, or any stage during the setup process, don’t be afraid to pull off the tape and try again for better results. Using GAFFA (cloth) tape, instead of screws and nails, isn’t as permanent and allows for easy adjustments that won’t damage the structure.


STEP 10: Practise!

Enjoy your new budget card surface anywhere and everywhere.

I am not a collector!

I am not a collector!” … This is what I have to tell myself whenever I browse my usual vendors for playing cards. USPCC standards, ex-casino, cardistry patterns, boutique designs, original artwork, brand names, celebrities, speciality finishes, magic reveals, private reserves, red, blue, black … the list goes on! There are just so many variations out there! Too many!

I used to have a substantial collection of rare, out-of-print, limited release decks that decorated the inside of my cupboards and drawers. It was an investment? No … for me, it was a waste of time, money and space. Especially here in Australia where the shipping cost for decent cards is often higher than the cards themselves! I am not against card collecting by any means – I really enjoyed it. I still think it is worth holding on to one or two valuable gems as trophies. I’ve just recognised that my personal goal of collecting everything ever made by everyone was a tad futile.

Unfortunately here down under, I don’t have the luxury of walking into any shop and purchasing some everyday USPCC “Bicycle” or “Bee” decks so readily available in the northern hemisphere. For me the standard retail cost is well and truly above the currency conversion rate. They are often cheaper online but then we are slugged with  that dreaded shipping cost!

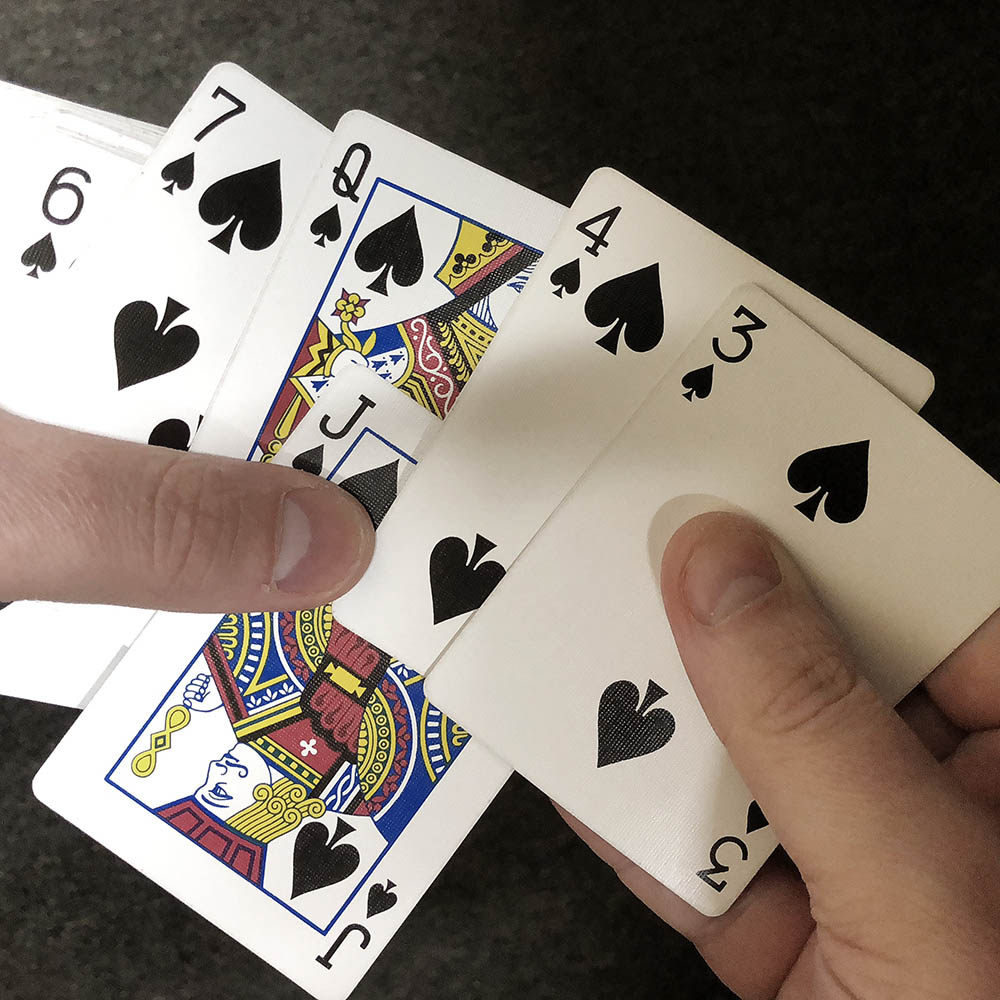
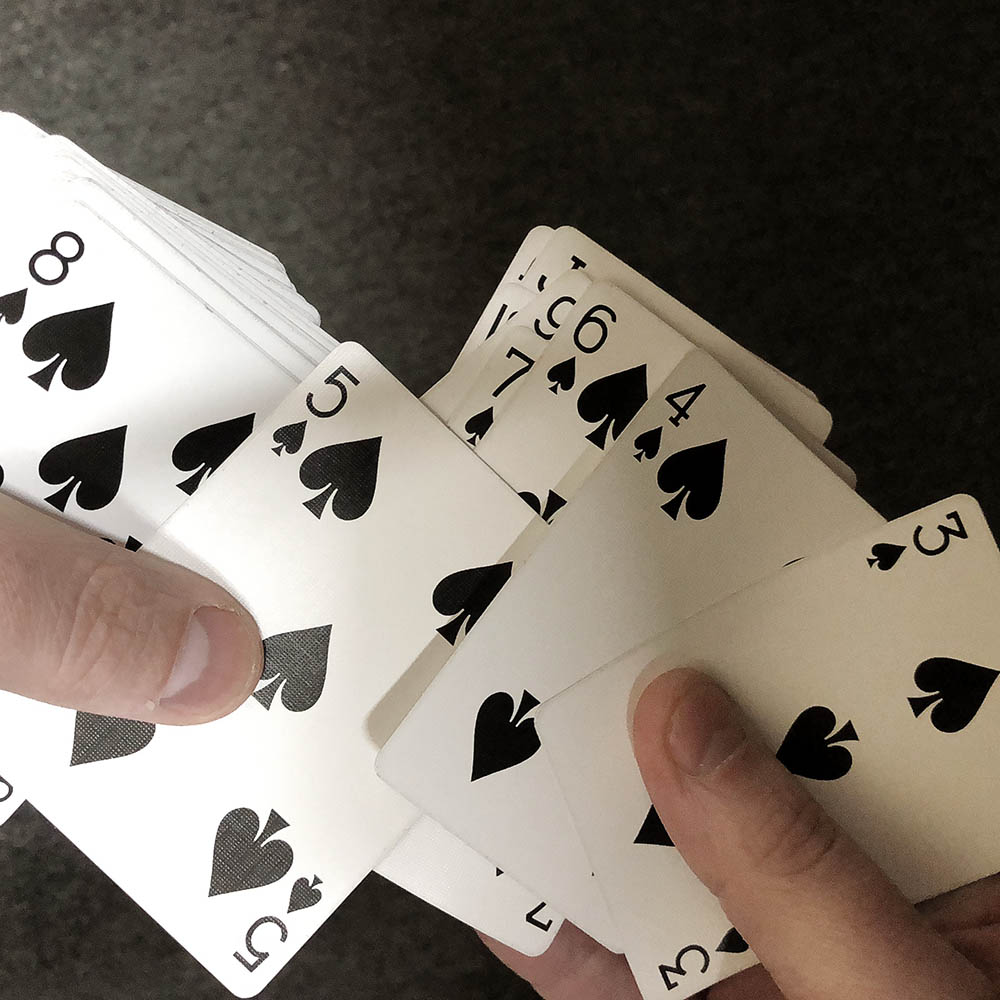
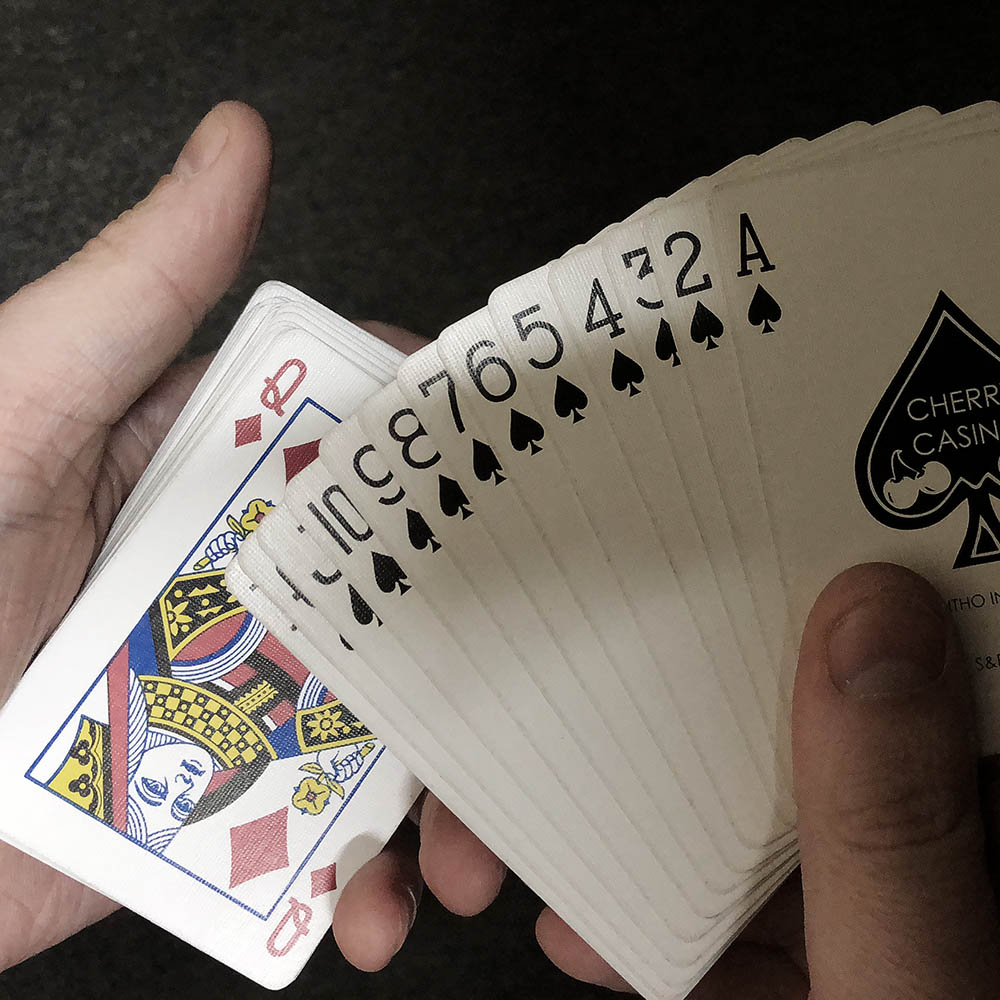
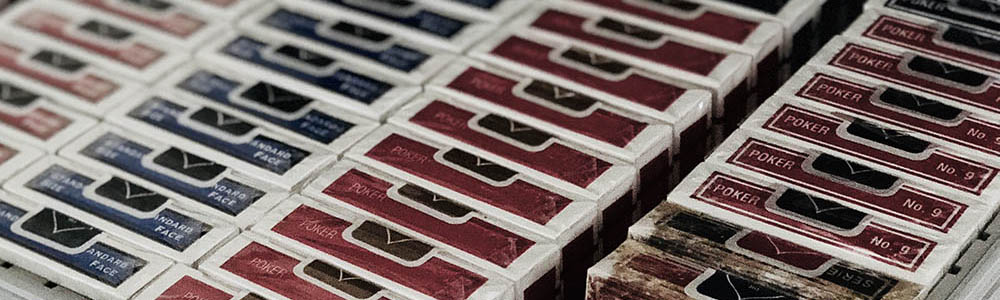
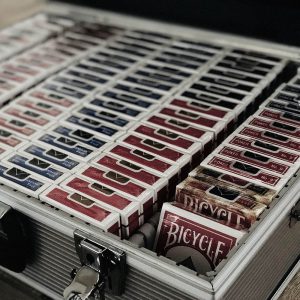
For a steady supply I have found that Cosco (still fairly new and limited in Australia) supply the best value bulk playing cards for general use. Their AU$30 brick of USPCC “Standard” Rider Back cards are more than good enough for magic or gambling demonstrations and are sturdy enough to last a while. $3 per deck is a lot better than the alternatives (so long as you have a $60 annual membership or know someone who does).

Outside of that I have discovered a few online stores offer free shipping when you purchase over a certain amount in one transaction. This is usually expensive, but it is a great way to buy speciality bricks (boxes of 12 decks) in bulk.

Over all, my recommendation is to simply have a decent stockpile on hand of great cards you intend to use. I would rather invest my money and time into my skills – only purchasing items that I intend on opening and using.